The littleBits Invention Cycle
Introduction to the littleBits Invention Cycle

There are four stages to the littleBits Invention Cycle:
-
CREATE is where you brainstorm ideas, explore Bits, and create a first model or prototype.
-
PLAY is where you test your invention. As you play, you identify what’s working well and come up with improvements or changes along the way.
-
REMIX is when you change up your the design, therefore, you re-make your invention, and you change one or more things about it.
-
SHARE is an essential part of the invention cycle. You can share with classmates, friends, your family, or other inventors.
Let’s put the Invention Cycle into practice through building inventions that move. You will start off by building a tail wagging creature. Then you will make an electronic trick candle and also a moving invention of your own!
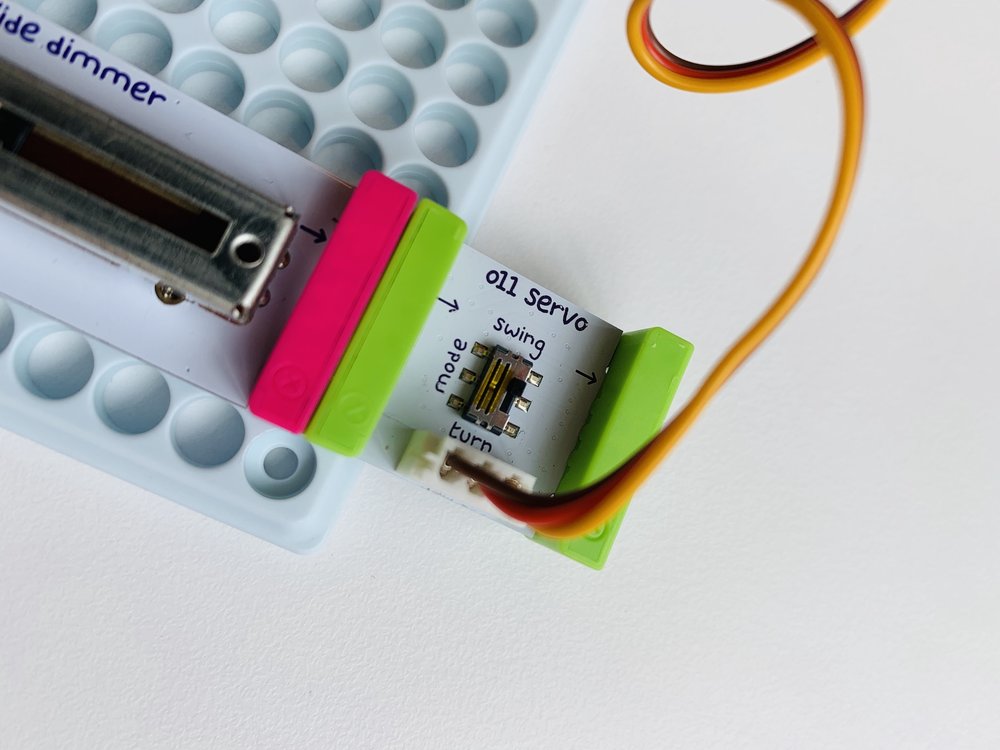
As you work through the session, make sure to review all Bit diagrams to learn how Bits work and how they relate to the real world. You can also find information about each Bit in the Snap the Gap STEM Bit Index.
Inspire
Career Exploration
Explore these two women who have made significant contributions to STEM fields. Please take a few minutes to read their stories in the postcards below and think about the following:
- Can you see yourself in her job?
- Are you interested to learn more about her job?
- What inspires you about this role model?


Download Women in STEM postcards here:
GRACE HOPPER LESHELLE MAY
Invent:
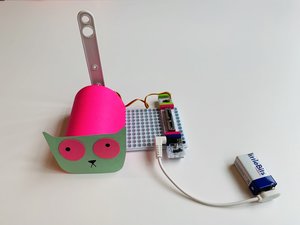
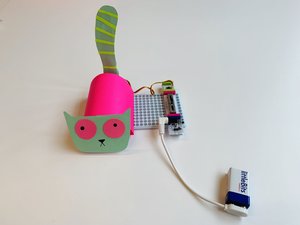
Tail Wagging Creature
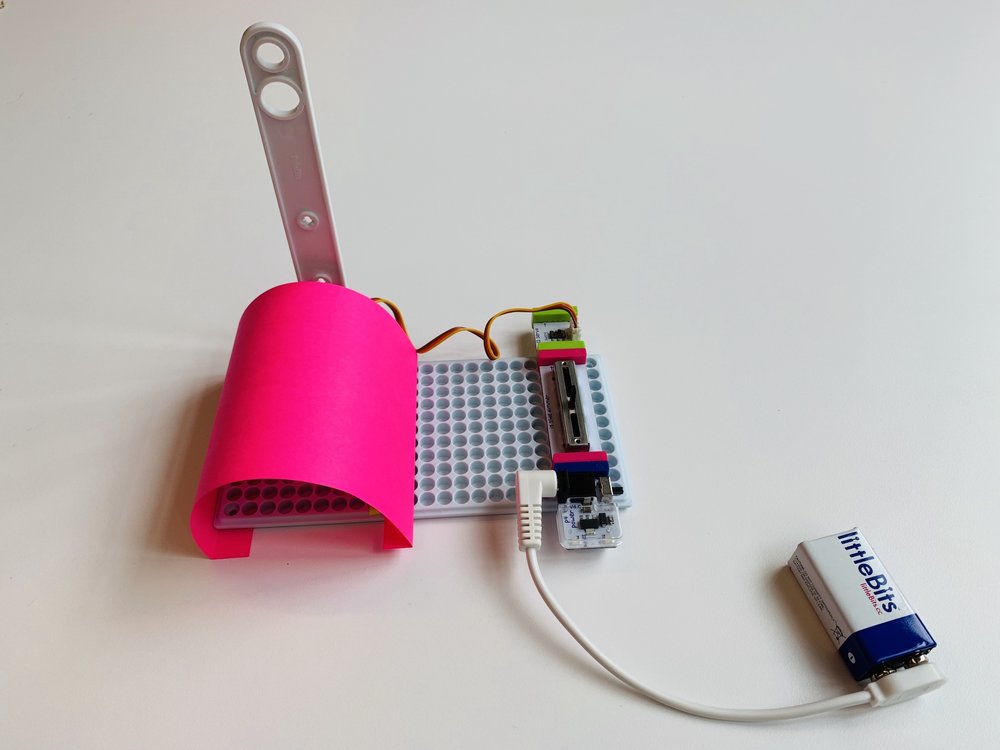
Tail Wagging Creature
Create a cute animal friend that automatically wags its tail!
CREATE: Follow these step by step instructions to create your first prototype of your creature.
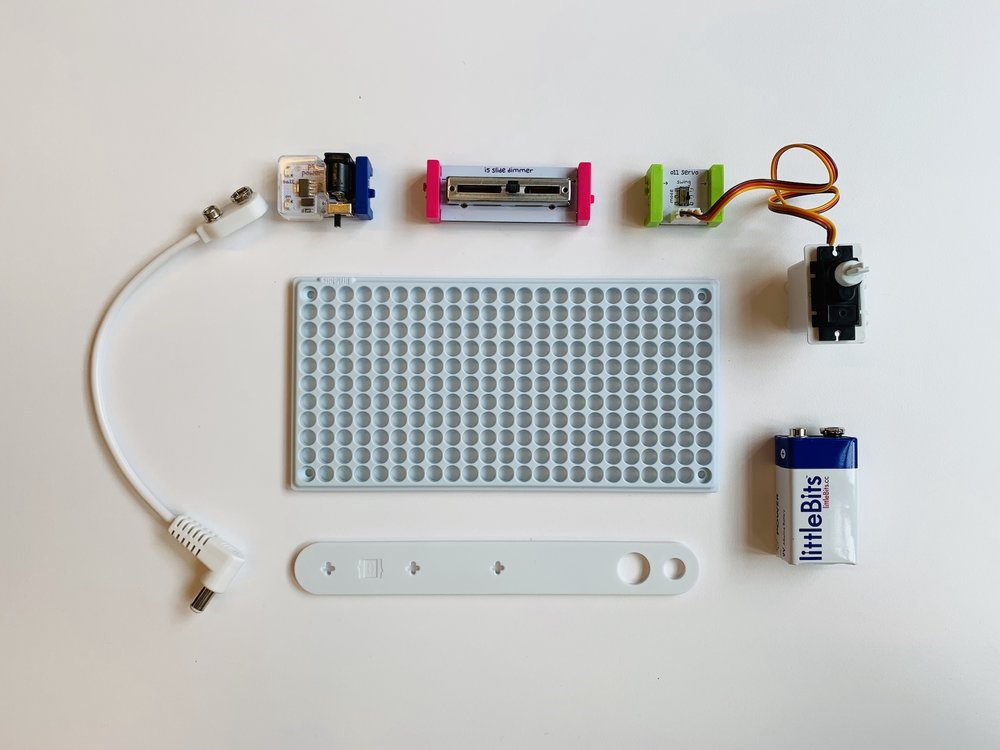
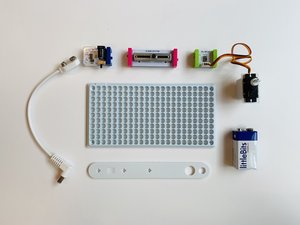
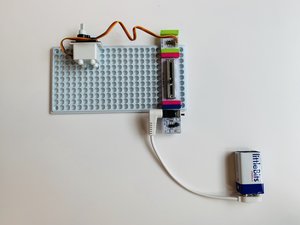
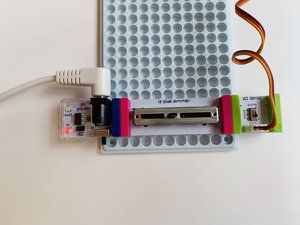
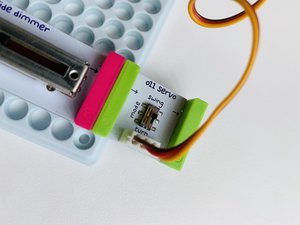
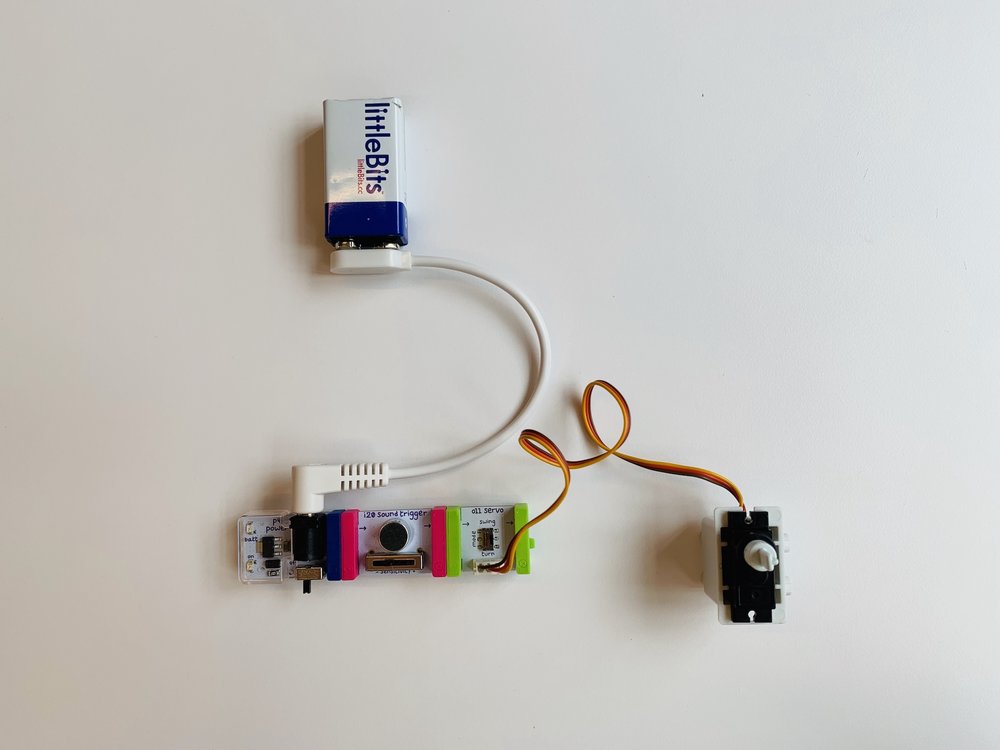
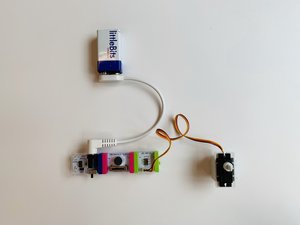
Step 1: Gather these Bits and Accessories


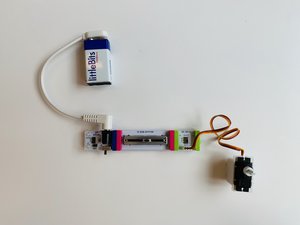


PLAY: Try out your invention!
-
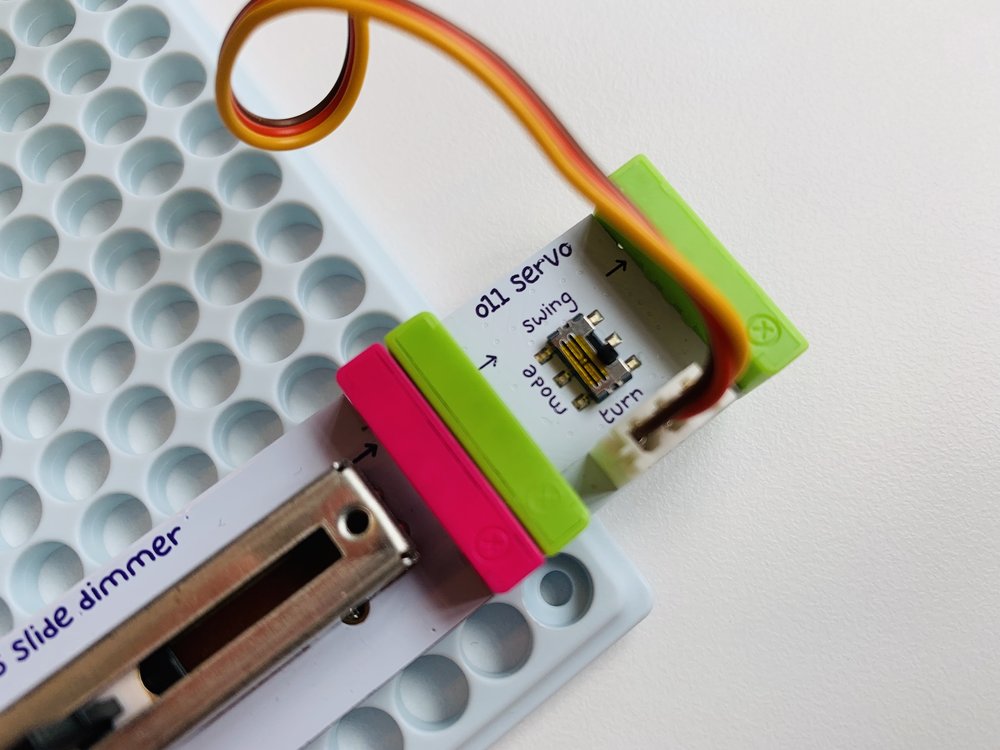
To use your invention, power on the circuit. Adjusting the slider on the dimmer will change the tail’s speed.
-
What other things in the world that have a similar function to the servo’s motion?
-
Ex: Metronome
-
REMIX: Update or Improve your Prototype
How can you use Bits and craft materials to improve or customize your invention?
Here are some ideas:
-
Add an additional output to your circuit.
-
How does this change what your creature does?
-
-
Swap out the slide dimmer for another input Bit.
-
How does it change the way your creature interacts?
-
-
How can you modify the look of your creature?
-
Can you transform it from one animal to another using paper or stickers?
-
SHARE: Share your invention with friends or family!
Here are some ideas how you can share about your invention:
-
Create a story about your creature.
-
Talk about the updates or unique features you added to the original prototype and why you decided to make these changes.
-
Snap photos of your final invention and send to your site coordinator!
Congratulations! You just completed your first Invention Cycle! Let’s try it again with a new invention.
Invent:
Trick Candle
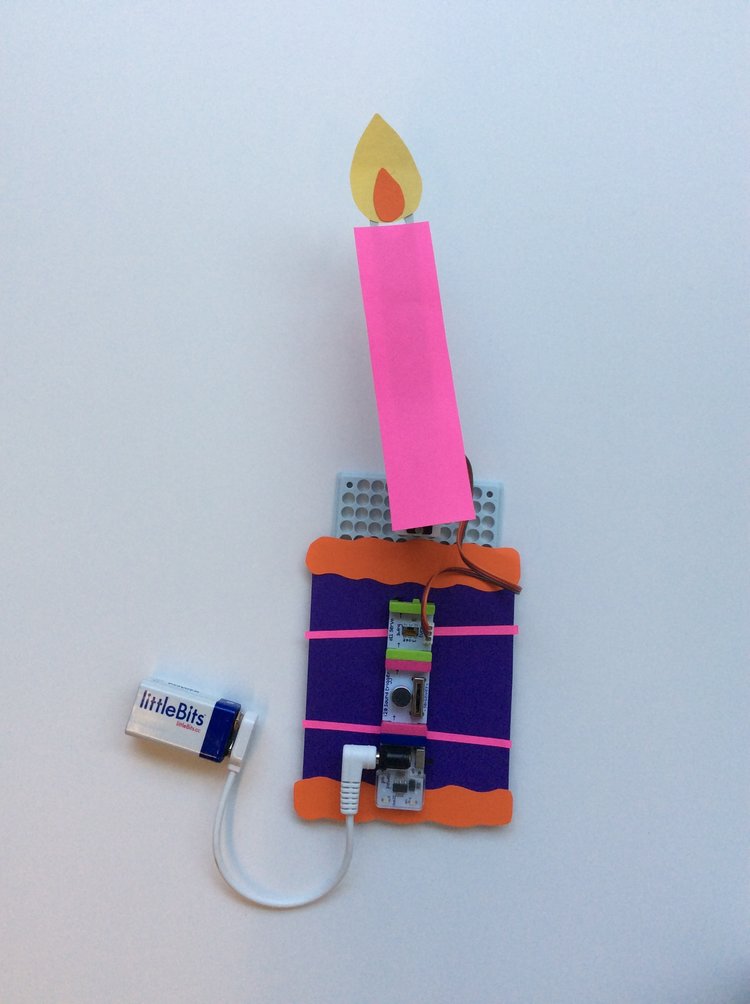
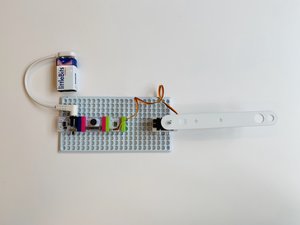
Trick Candle
This candle flips down when you blow on it, then back up. Use it to trick your friends!
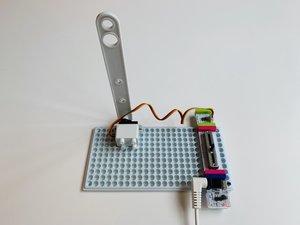
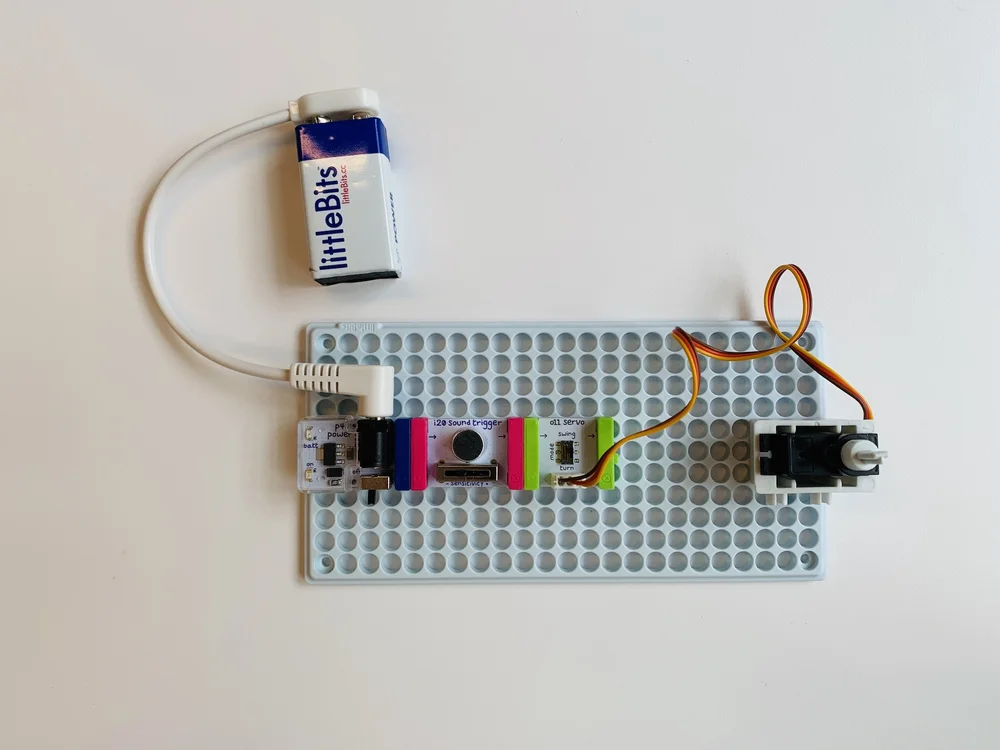
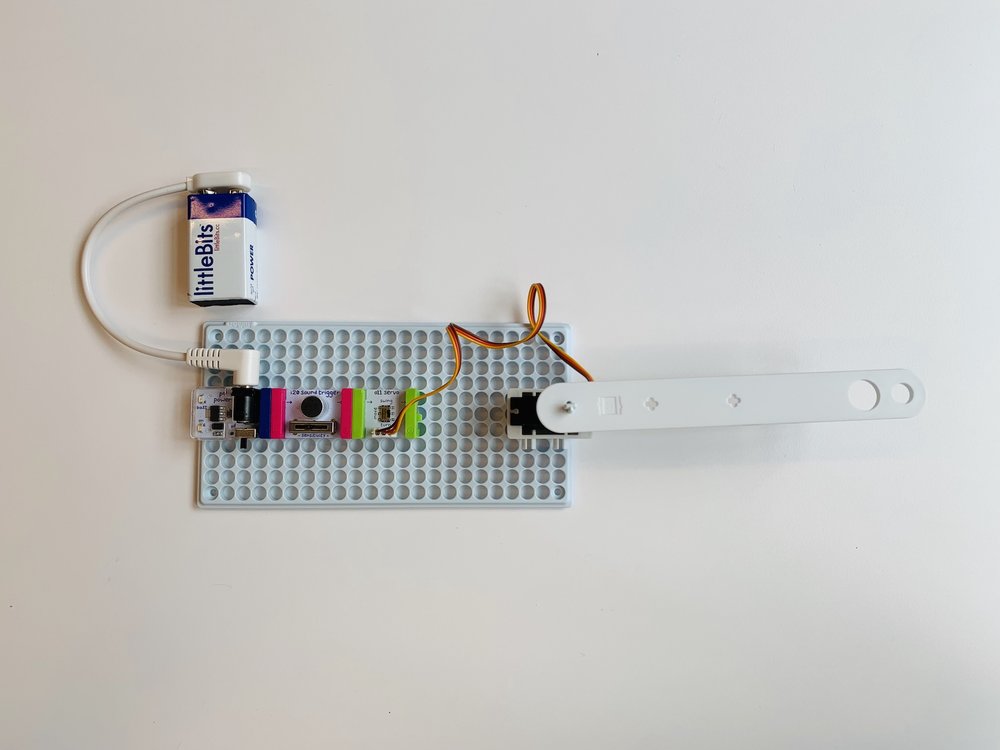
CREATE: Follow these step by step instructions to create your prototype of your Trick Candle.

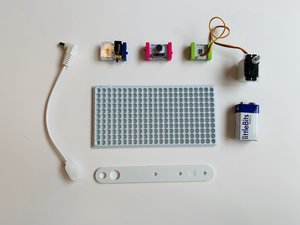
Step 1: Gather these Bits and Accessories


PLAY: Try out your invention!
-
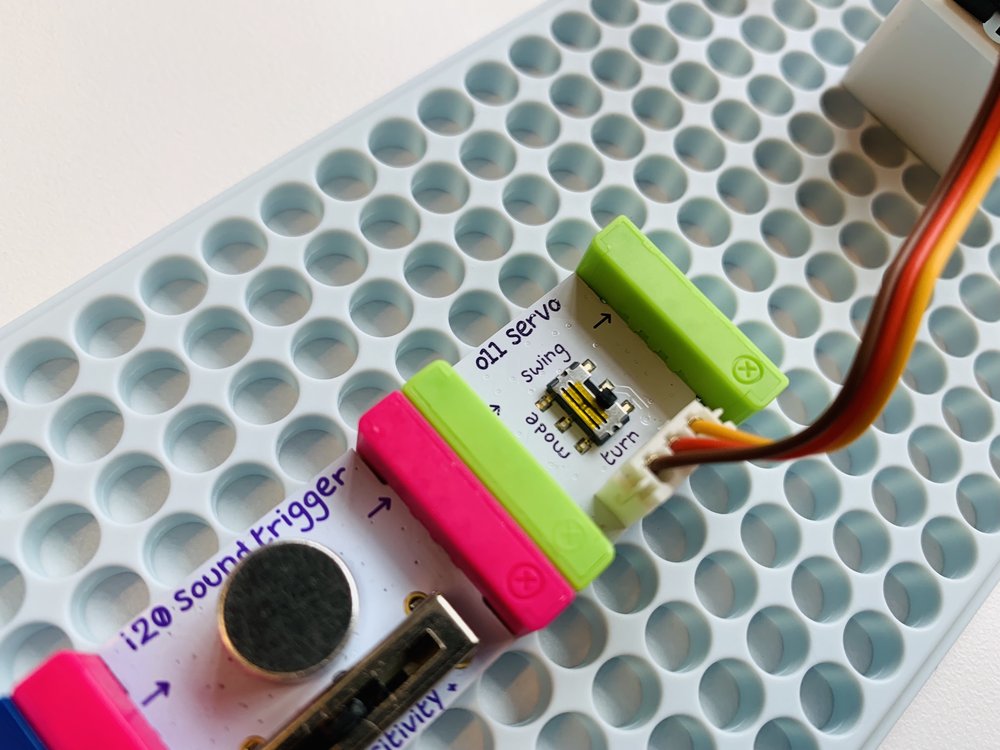
Power on your circuit and blow on the sound trigger!
-
The servo should flip down and back up.
-
-
Adjust your mechanical arm and the sensitivity on the sound trigger until your invention works how you want.
REMIX: Update or Improve your Prototype
How can you use Bits and craft materials to improve or customize your invention?
Here are some ideas:
-
Add outputs.
-
You can try adding sound or light. What Bits can help make the celebration more fun?
-
-
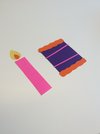
Decorate your cake!
-
Use paper and stickers to make it unique.
-
SHARE: Share your invention with friends or family!
Here are some ideas how you can share about your invention:
-
Talk about the updates or unique features you added to the original prototype and why you decided to make these changes.
-
Snap photos of your final invention and send to your site coordinator!
CONGRATULATIONS, YOU HAVE COMPLETED YOUR PROJECT!
Inspirational Links:
Resources
Tips + Tricks:
Helpful Links: